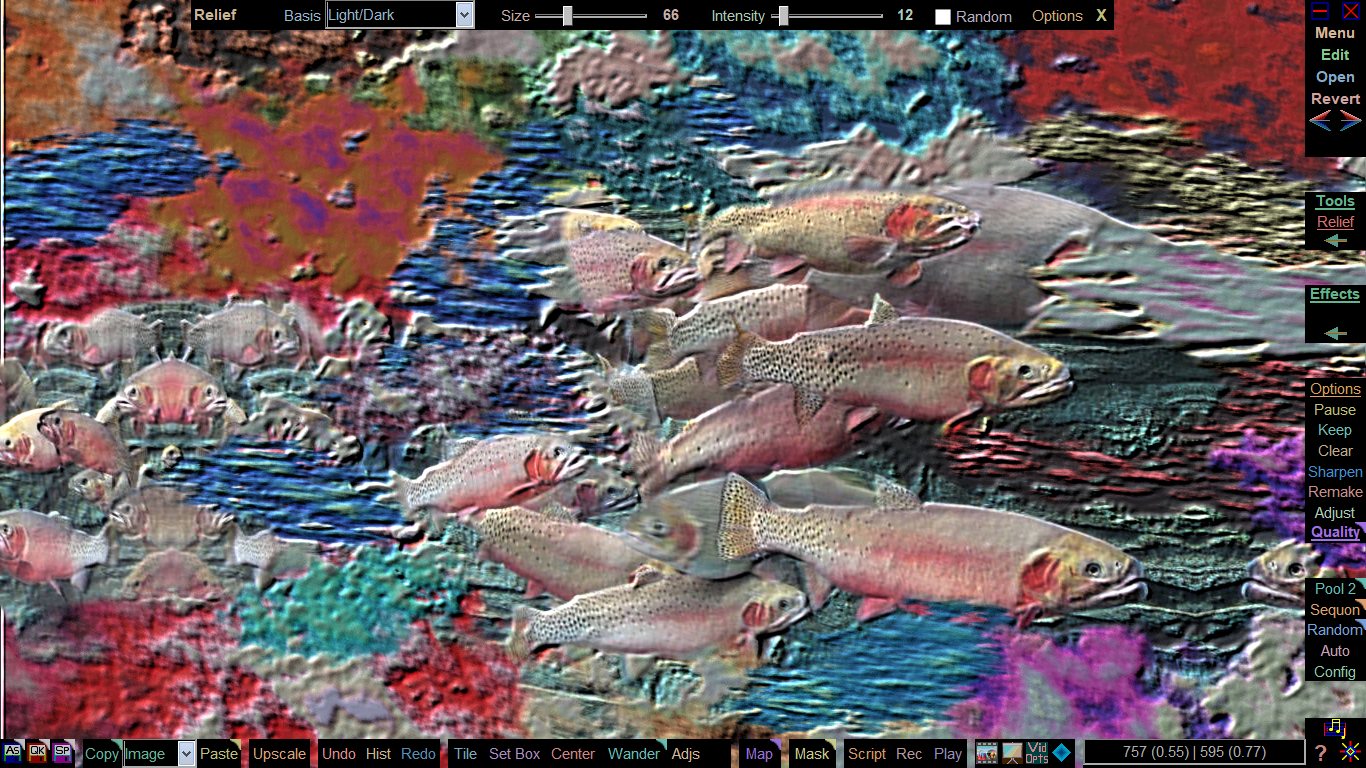
A photo of trout in a large aquarium tank was used as the basis for this
Liquib
scene. First, numerous
Clouds of various colors and sizes were added,
mostly around the edges. The
Shine Tool was applied using the
Polychromatic Method with
Gradations set to 2. Then the
Wipe
Tool was used with the
Transparency Action to re-expose most of the
fish. Finally, the
Relief Tool was applied with a low
Intensity to
give a slight impression of depth. The
Liquib Tools panel along the right
edge of the screen contains buttons for
Tools,
Effects and other common
functions. The currently active
Tool or
Effect is indicated with red,
underlined text. In this case the
Tools and
Effects selection boxes
have been minimized to provide more space. The

buttons can be
clicked to select a different
Tool or
Effect.
Tool/Effect
Controls can optionally appear along the top of the screen to allow convenient
adjustment of common parameters (
Options screens are also available for each
Tool and
Effect when further configuration is needed).
Edit
Tools along the bottom of the screen provide controls for manipulating images
and
Tiles. All of these control panels can be toggled on/off. A
Popup Menu is also available to access all
Liquib options.
In this example, the
Tile Source Image option had been set in the
View
Menu, so the source image was mirrored across its edges as needed to fill the
screen. Another option had been set to also mirror any
Tools
and
Effects applied within the source image. Alternatively, the full
screen might have been treated as a single image upon which to apply
Tools
and
Effects. Since the original source image was 2048 by 1536, it was
scaled down to fit within the 1366 by 768 screen. The
Upscale function could be used to recreate this same picture
at the larger scale of the original image. A
Remake Script was
automatically saved when the image was saved, so the same sequence of manipulations
could easily be reproduced, perhaps experimenting with variations. The action
might also have been captured to a
Video file or as a sequence of still
images. And it still can be! By just activating
Video Capture
while the
Remake Script is being played back.
